Mobile Messaging
How to create and send messages using the Mobile Centre
1. Go to the Mobile Centre
2. Click 'Messages' in the menu on the left hand side
Creating a conversation
1. To create a new conversation click 'Create Conversation' on the top blue bar
2. First of all, make sure you have 'Students' moved across into the 'Send to contacts of' box, to do this click on students in the 'Send directly to' box and click on the right facing arrow. This means when a student is selected as a recipient the message will go to the contacts of the student (the parents/carers) instead of the student themselves. It is good practice to make sure this is always done when you create a new conversation.
3. Choose the recipients by clicking the '...' to the right of the 'Recipients' box. This brings up the Address Book. The Address Book contains all the users you have in your admin section.
You can filter through the Address Book using the options at the top. You can select as many contacts as you like and from as many groups as you like. Selected recipients will appear in the bottom half of the box. When you have selected everyone you want to send the conversation to, press 'Choose'.
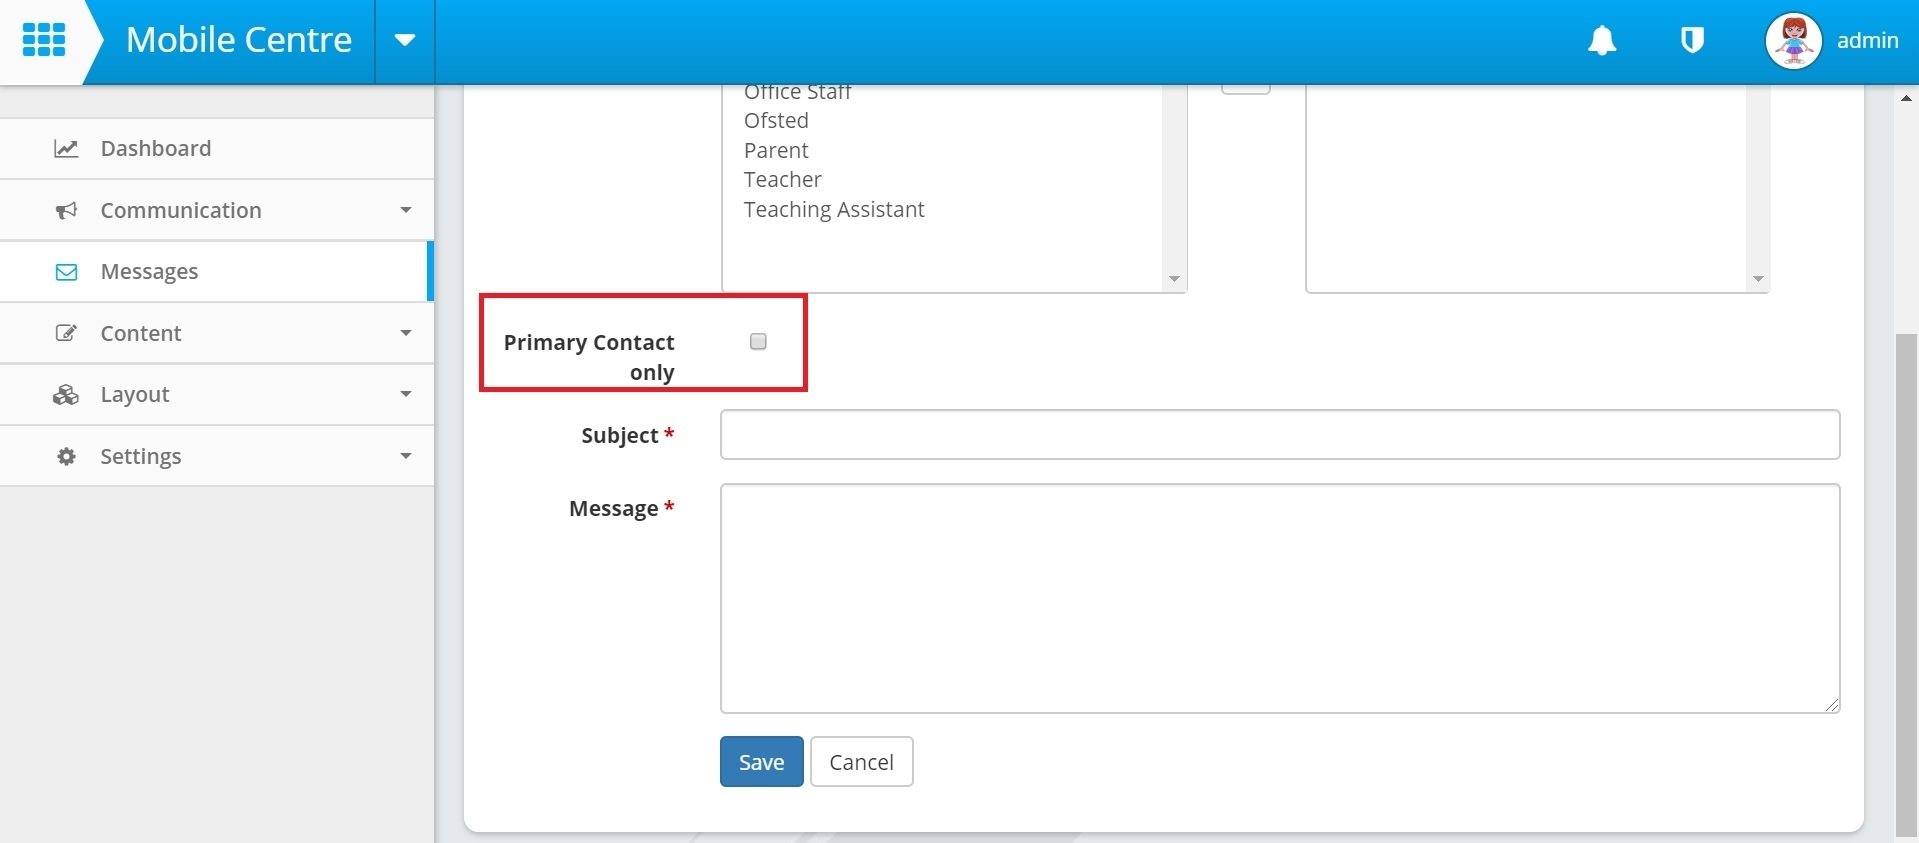
4. You can use the 'Primary Contact Only' button if you only want to send the message to the selected student(s) primary contact only and not all listed contacts.
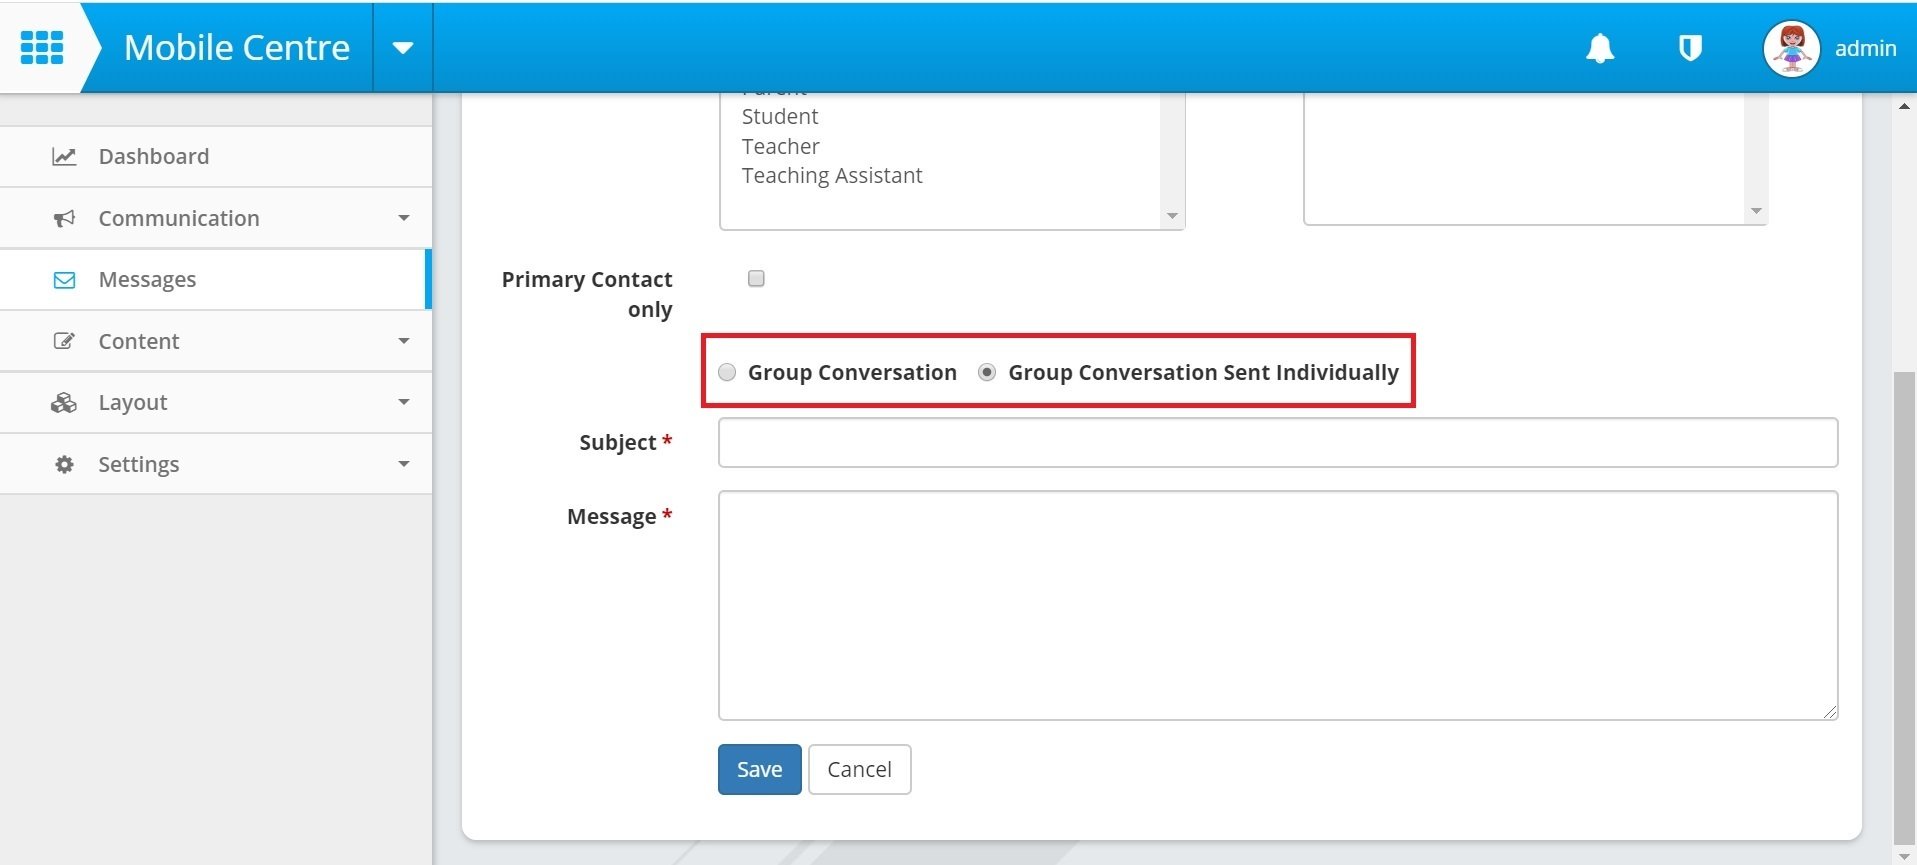
5. When you have multiple contacts added to the recipients box you have the option of 'Group Conversation' or 'Group Conversation Sent Individually'. With 'Group Conversation' if anyone replies to the message all recipients will see the reply as it is a group message, similar to WhatsApp. With 'Group Conversation Sent Individually' this sends out the same message to each recipient but as individual 1 on 1 conversations, so when a recipient responds, only you and that recipient will see that response and any further messages.
6. You then write in the subject and message and press 'Save' to send.


